2 Simple Ways to Temper Chocolate at Home
Tempering chocolate is an excellent skill to have in your culinary tool belt for its many application. It can be used for a variety of confections such as truffles, hot chocolate bombs, chocolate-covered fruits, chocolate bonbons and even your own chocolate bar to name a few. Yes, it can be intimidating at first but with the right equipment and practice, tempering chocolate can be easy to master.
What is tempering?
Melting chocolate at a certain temperature alters its molecule structure often resulting in a chewy texture once cooled. Tempering chocolate is tricking the molecules to return to their original structure by adding seeds or unmelted chocolate. Once cooled, tempered chocolate hardens with a snap and a shiny gloss. When making confections or chocolate bars, we need the chocolate tempered to have a chocolate coat with a nice finish that doesn’t melt to the touch.
To temper chocolate properly, we need to use the right kind of chocolate and equipment detailed below.
2 kinds of chocolate…
Couverture (aka real chocolate) - is made of cocoa butter and chocolate liquor. Once melted, it requires tempering to harden back to a glossy state. It tastes more luxurious than compound chocolate. Most good-quality chocolate bars have cocoa butter content.
Compound (aka chocolate melt) - is made of cocoa powder and oil and often hardens without the need for tempering. They are disc-shaped candy melt in multiple colors often found in grocery stores and arts and craft stores.
Compound chocolate or chocolate melt is a more popular choice to use for coating confections, especially among home bakers. Because it does not have much cocoa butter content, compound chocolate does not need tempering to harden. Simply melt and coat! Unlike real chocolate, however, compound chocolate sometimes tastes waxy depending on the brand. With just a few extra steps, you can elevate your confection creations by tempering a bar of good quality chocolate for coating.
Before tempering, here are things to know…
Chocolate CANNOT be exposed to water, otherwise, it seizes. Seized chocolate is when the glossy melted chocolate turns into a dull grainy lump of chocolate unusable for coating.
Chocolates are sensitive to temperature. If melted over 120°F (for double boiler seeding method), it will not likely harden up with an attractive gloss for coating. You can still use it for ganaches and truffles.
A food thermometer is necessary for tempering. Yes, it is possible to temper without a thermometer, however, not consistently. If a thermometer is unavailable, simply use chocolate melts where tempering is not necessary.
Finely chop the chocolate. It helps melt the chocolate faster without using unnecessary heat.
Prepare everything you need first before tempering. Chop the chocolate, dry the equipment and set up your work station.
Check out my hot chocolate bomb recipe and chocolate popsicles bomb recipe.
Equipment…
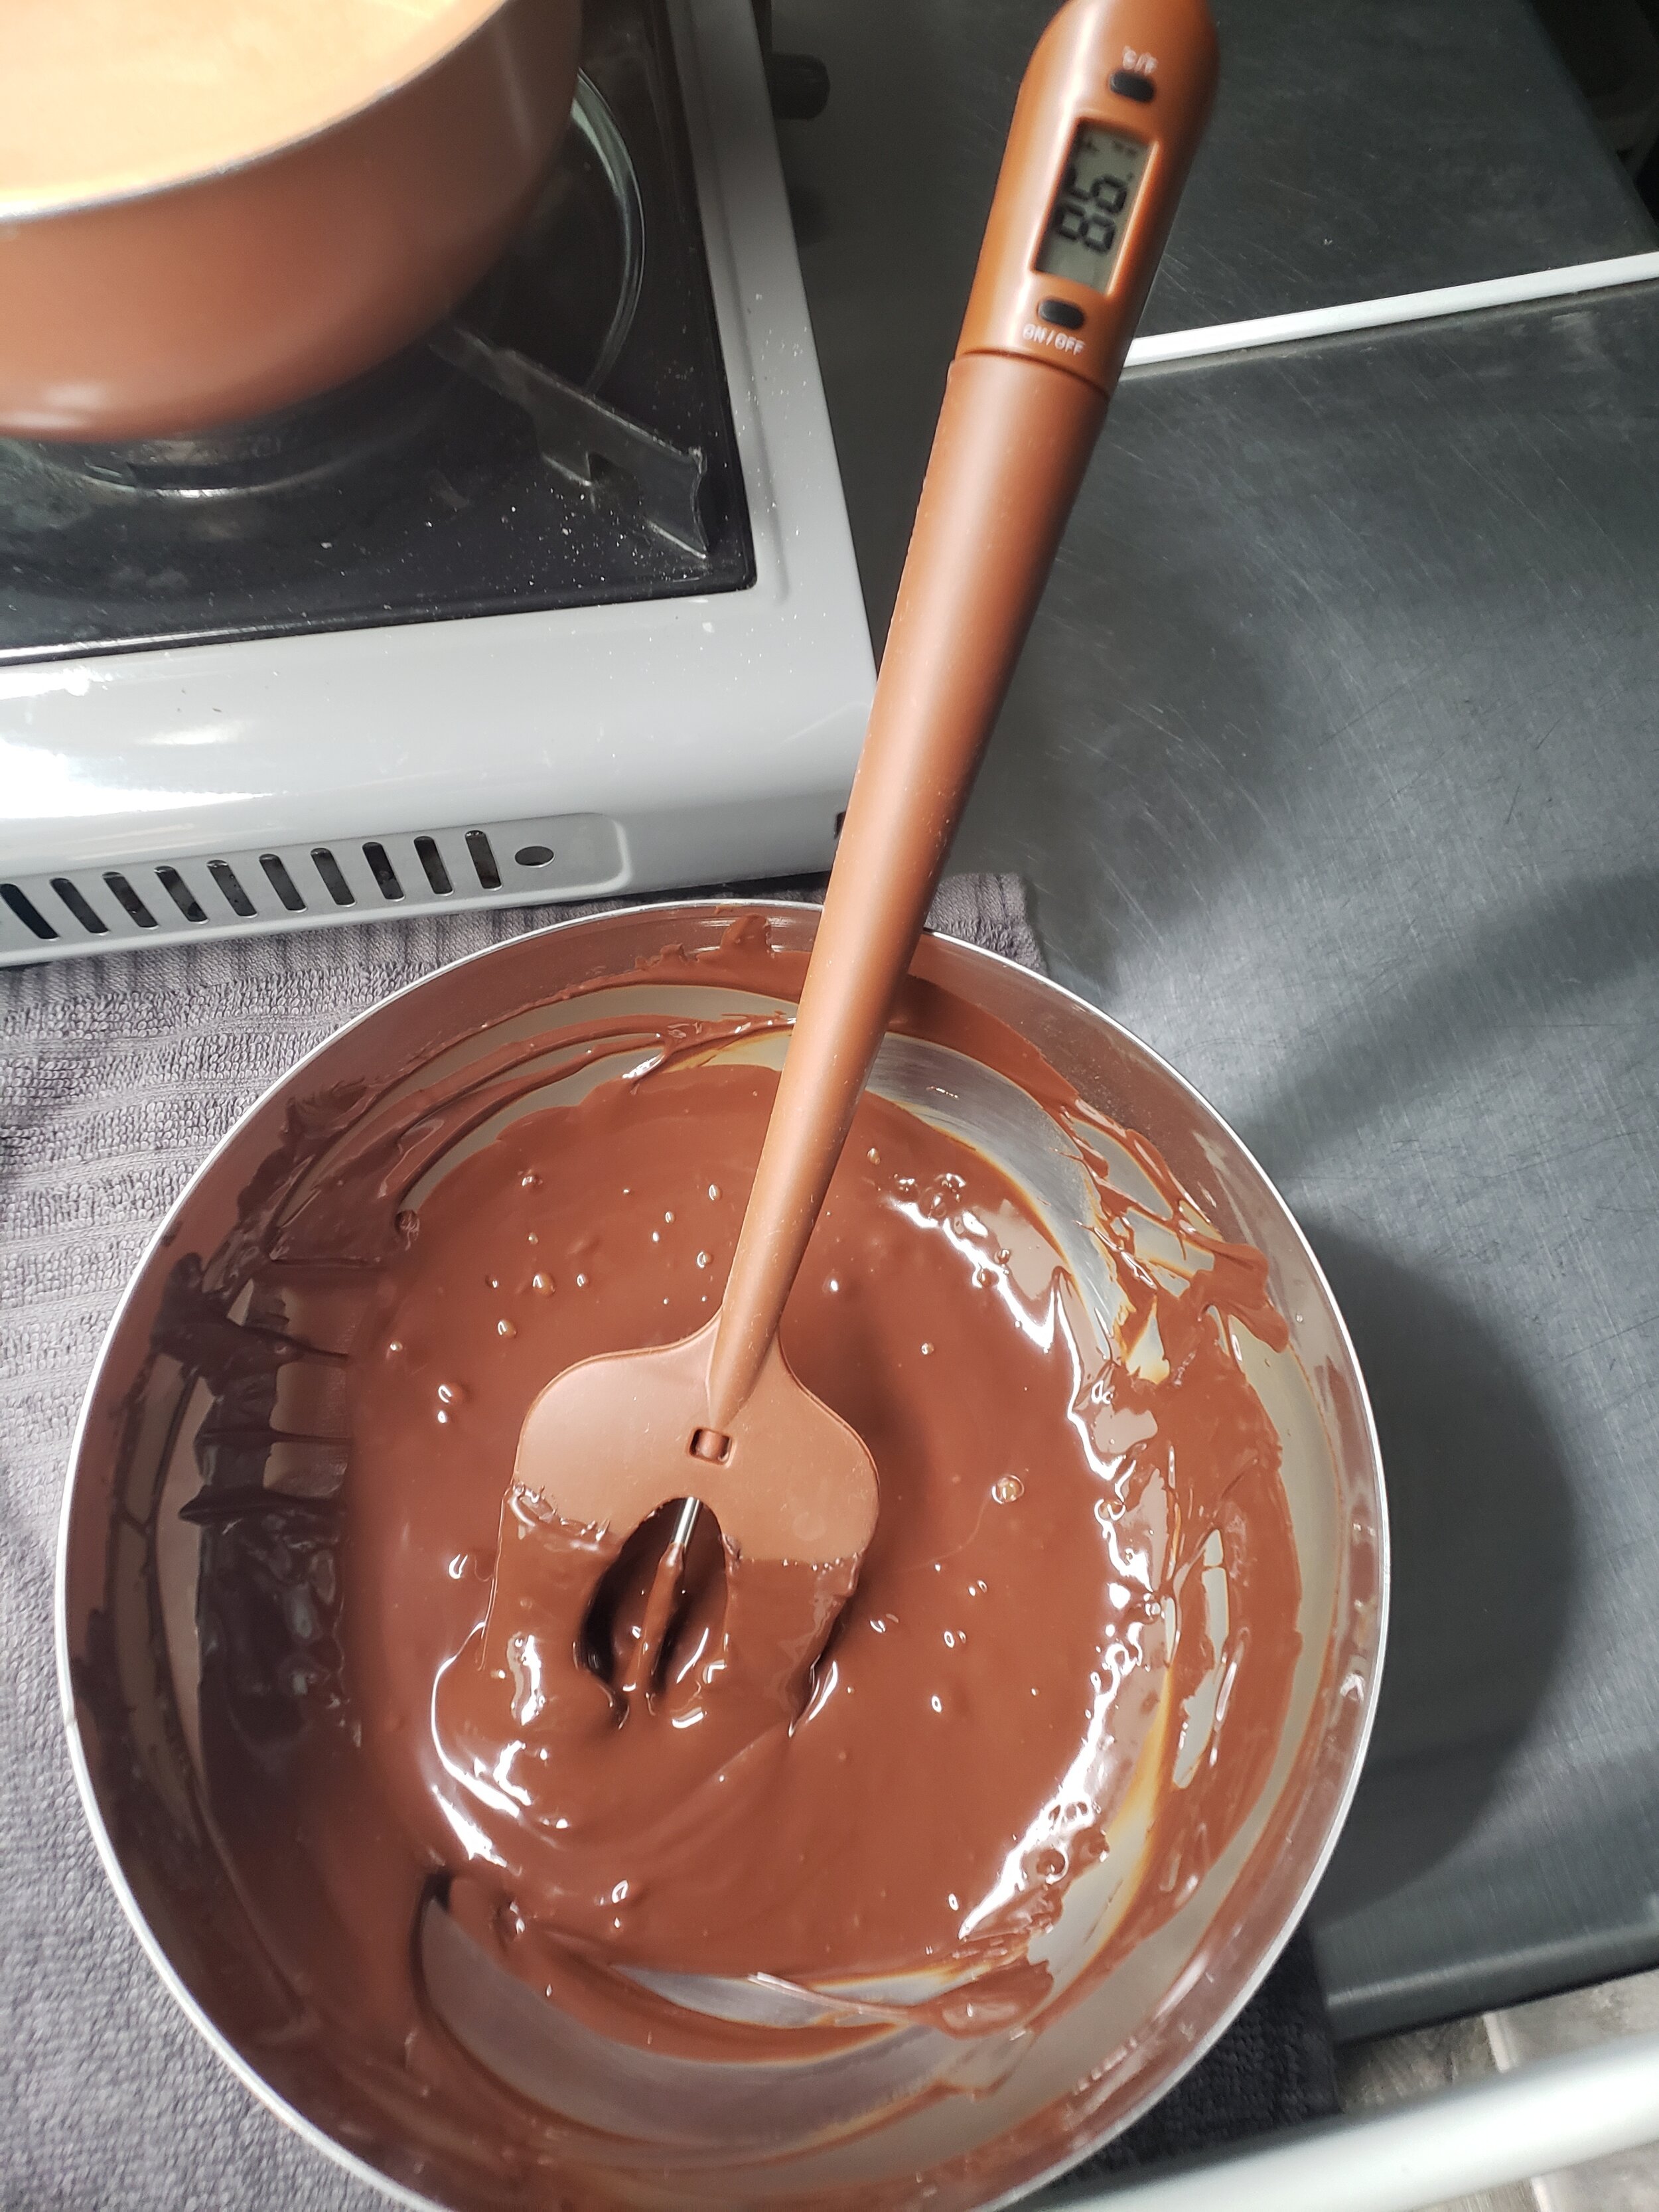
Food thermometer or thermometer spatula (I love using the thermometer spatula pictured below!)
glass bowl (double broiler seeding method) and plastic or silicone bowl (microwave method)
spatula
parchment paper
What chocolate to use…
Pay attention making sure that the chocolate you use contains cocoa butter. The amount of chocolate to temper depends on how much you need to coat. As an example, I use 1/2 lb of chocolate to coat a box of strawberries. I prefer using semi-sweet or dark chocolate for coating. Use the one you like most. Refer to the chocolate temperature chart below to adjust your tempering temperatures based on the kind of chocolate.
Here are some excellent chocolate options:
Guittard Semi-Sweet Chocolate Wafters (also available on Winco bulk section)
Most bean-to-bar chocolate bars
Your favorite good quality chocolate bar with high cocoa butter content
Check out my hot popsicle bombs recipe below…

2 Simple Ways to Temper Chocolate at Home
Microwave Method
Double Boiler Seeding Method
Microwave Method
Equipment: silicone (preferred) or glass bowl, thermometer, spatula (or thermometer spatula), a small piece of parchment paper
The chocolate comes off its tempered state when heated over 95°F. So technically, by keeping your chocolate temperature below 95°F, you are effectively melting it without the need for seeds or adding unmelted chocolate. For this method, it is very important to pay attention to the temperature.
Finely chop or shave the chocolate to help melt them faster without using excess heat.
Place in a silicone bowl and microwave for 30 seconds then stir.
Place the bowl back in the microwave and heat in 15 seconds increment until 2/3 of the chocolate are melted making sure the temperature does not exceed 95°F.
Keep stirring until all lumps are melted and the temperature is around 89°F.
If the chocolate temperature reaches 89°F to 90°F and some bits are still not melted, microwave for 5 seconds making sure the temperature does not exceed 95°F. Then keep stirring to cool back to 89° to 90°F.
Before coating, make sure that the chocolate is tempered correctly by placing a thin coat in a small piece of parchment paper and place in the freezer for 3 minutes. It should come off the parchment paper easily with a gloss and snaps when broken in half. If the chocolate is not tempered right, proceed to use the double boiler seeding method outlined below.
If the temperature exceeded 95°F, proceed to the double boiler seeding method below.
Check out Guittard’s “Making Confections” guide to get more information on this method.
Double Boiler Seeding Method
Equipment: double boiler or pot, 2 glass or metal bowls, thermometer, spatula (or thermometer spatula), a small piece of parchment paper, towel
Finely chop or shave the chocolate to help melt them faster without using excess heat.
Fill 1/3 of the pot with water making sure it doesn’t touch the base of the bowl.
Place 2/3 of the chopped chocolate into a glass or metal bowl and place it on the top of the pot at low heat.
Do NOT boil the water, turn it off once it starts to simmer.
Mix until all lumps are melted making sure that the chocolate temperature does not exceed 120°F. I usually take it out of the heat at around 115°F since the bowl retains some heat.
Take the bowl out of the pot and dry with a towel.
To help prevent it from heating further, transfer the melted chocolate to a new (and dry) bowl.
Add half of the remaining chopped chocolate (aka seeds) into the melted chocolate until all lumps are melted; then add the rest of the remaining chopped chocolate and mix until melted.
Keep mixing lowering the temperature to 82°F (for dark and semi-sweet chocolate; refer to the temperature chart below for milk and white chocolate).
Place the bowl back to a heated pot and heat the chocolate to the working temperature of 89°F to 90°F.
Before coating, make sure that the chocolate is tempered correctly by placing a thin coat in a small piece of parchment paper and place in the freezer for 3 minutes. It should come off the parchment paper easily with a gloss and snaps when broken in half.
Chocolate Temperature Chart:
Dark or Semi-Sweet Chocolate: heat to 120°F then cool to 82°F and heat again to 89°F to start coating.
Milk Chocolate: heat to 113°F then cool to 81°F and heat again to 86°F.
White Chocolate: heat to 113°F then cool to 79°F and heat again to 82°F.
Pro-tips:
The best working temperature is 89°F to 90°F for bittersweet and dark chocolate.
If the chocolate becomes thicker and harder to work with, heat again in a 5-second increment in the microwave to melt. Or place on top of the double boiler for a few seconds making sure the temperature does not go over 95°F.
Pour leftover chocolate in a parchment paper or a silicone mat and spread evenly. Once cooled, simply shave or chop the chocolate and save it for future use.
Overheated chocolate can be used as a ganache and chocolate sauce by adding heavy cream.
You can use tempered chocolate in many different confections! I love making chocolate mendiants and my own chocolate bar to give away not just for the holidays but throughout the year. Get creative and have fun!