Cherry Jam Recipe with Canning Instructions
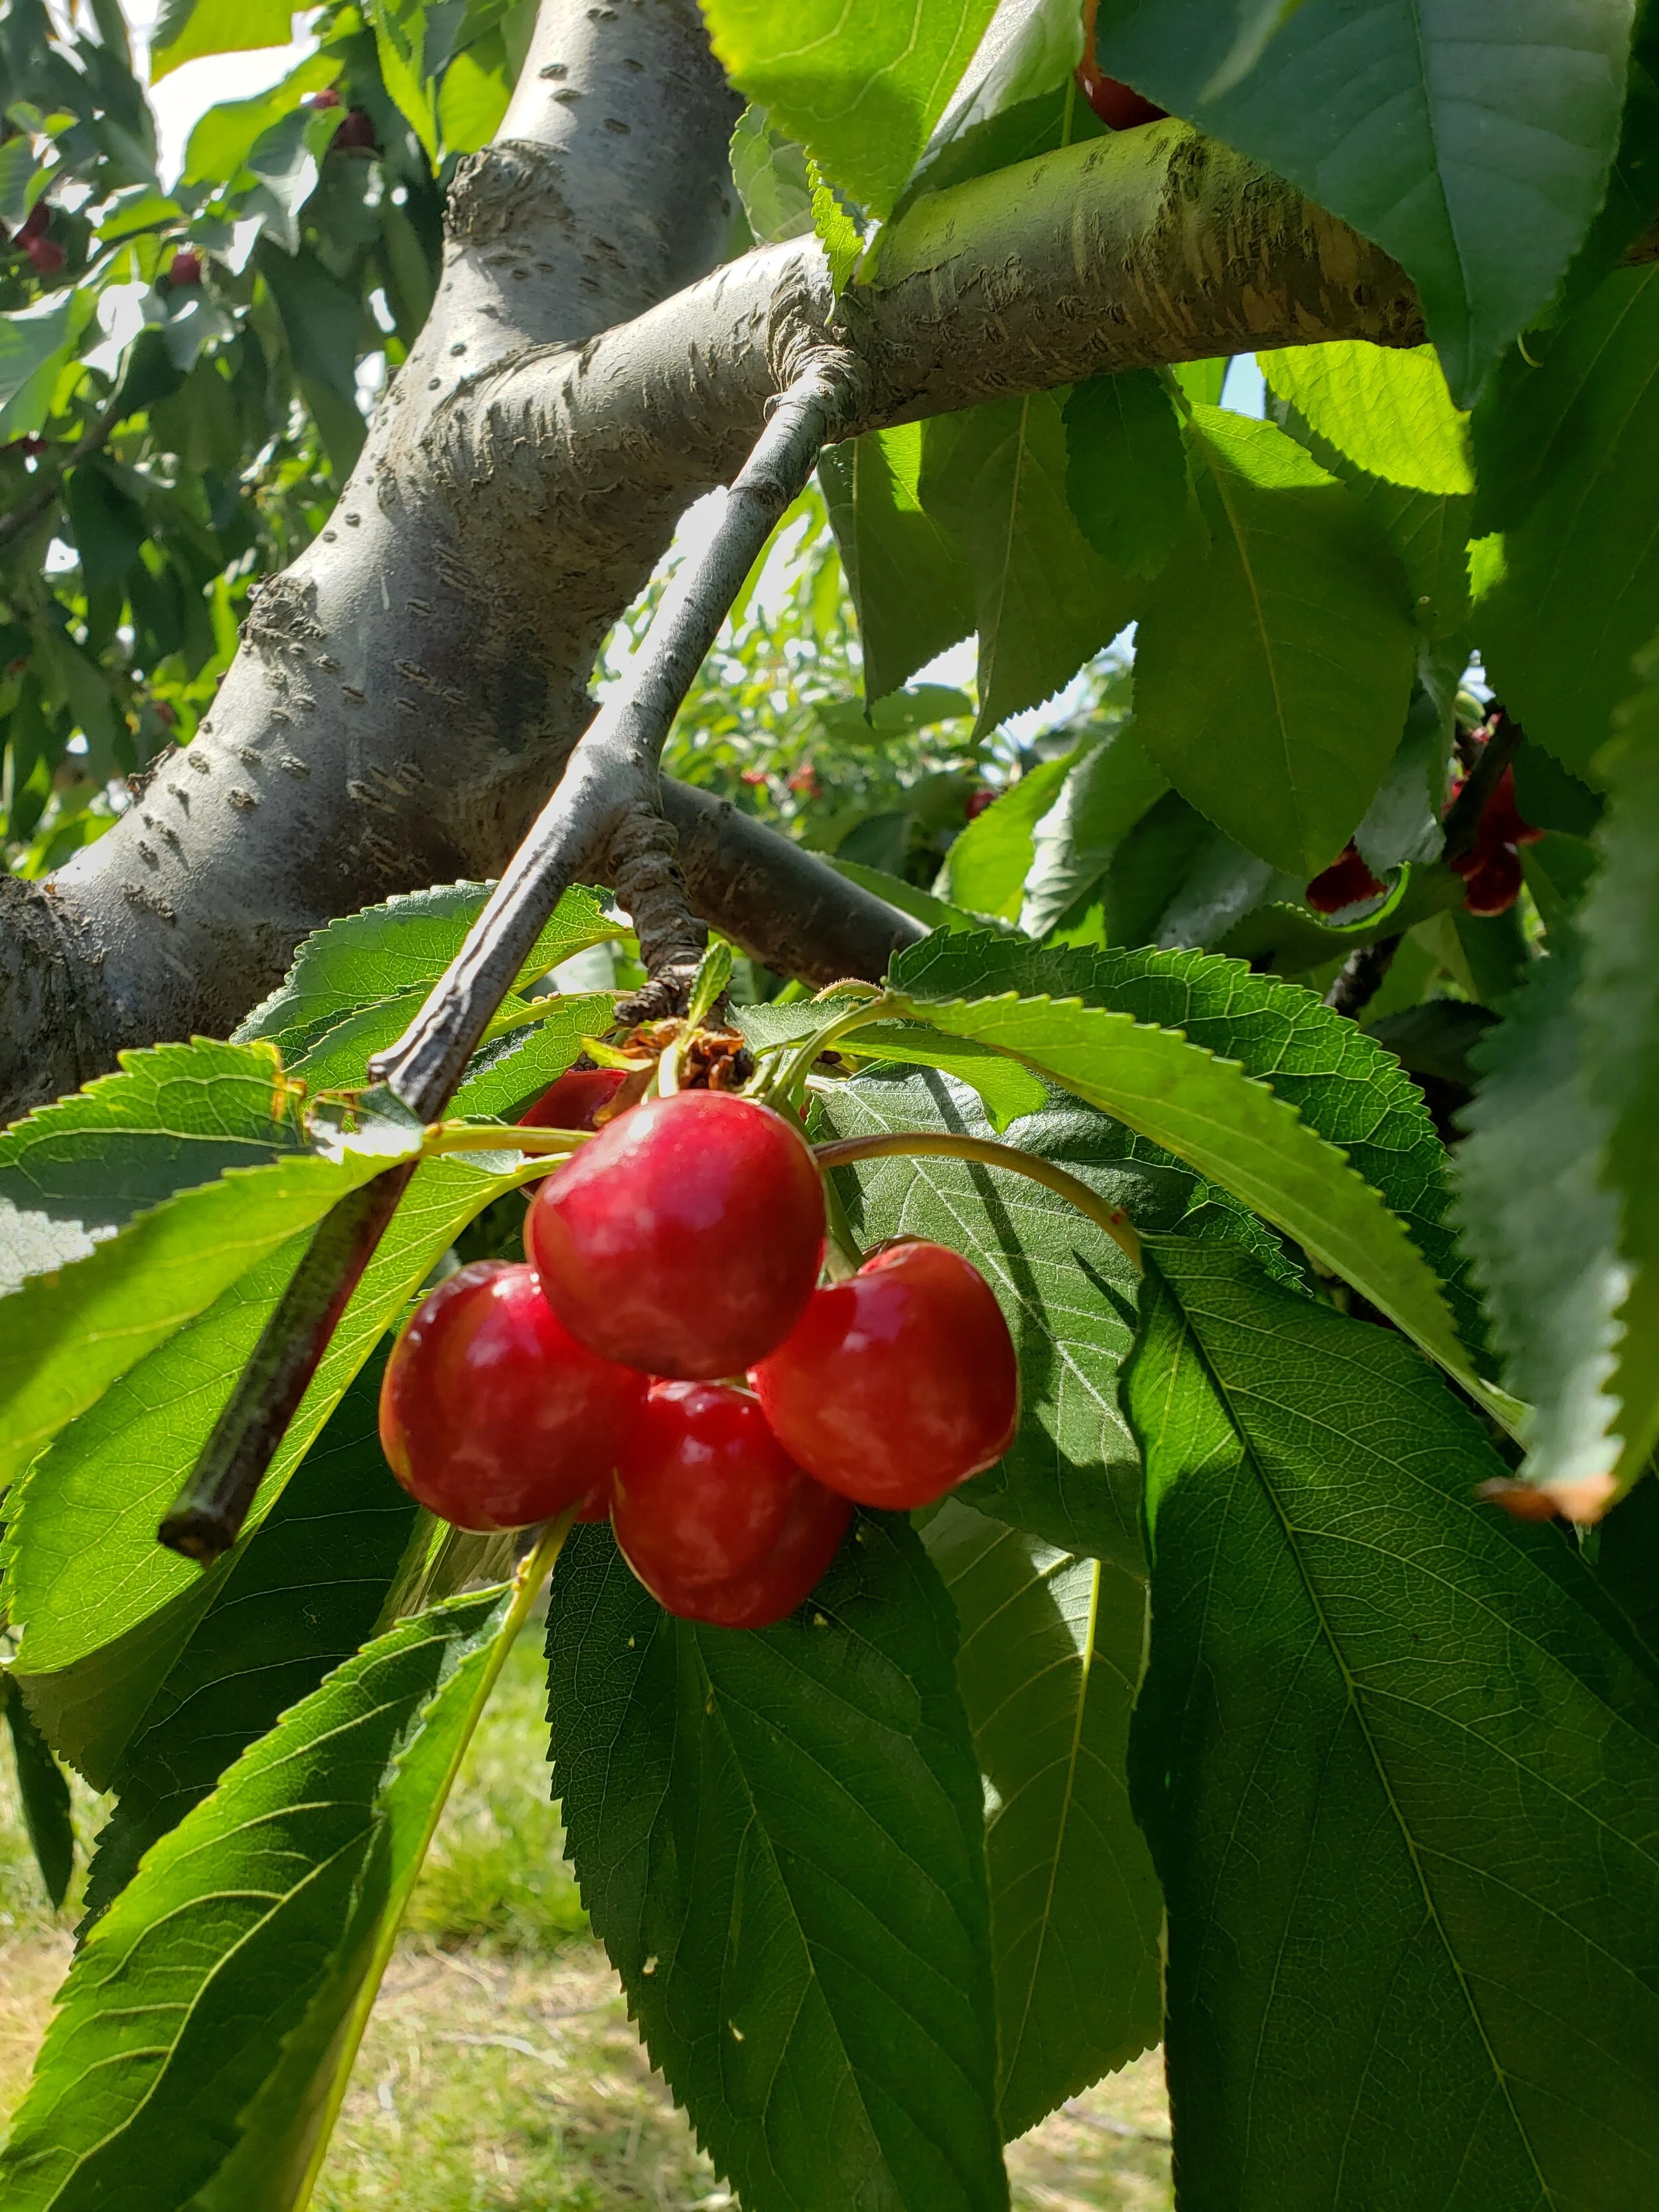
Farm to table: picking cherries for the jam!
My family and I recently made a trip to the local cherry farm and picked our own baskets of fresh cherries. This was my first time and honestly, I’m not sure why I haven’t done this before! For a few years now, my husband and I make it a point to pick strawberries and peaches from our local farm but we never made it to pick cherries! There’s just something special about harvesting (or picking) your own fruits and vegetables! As a vanlifer, I can only dream of a backyard garden for now! But… I definitely have plans on planting cherry trees on our vacant country property soon!

Bounty from our cherry-picking day-out with the family!
We went home with 5 lbs of cherries! I made a batch of cherry jam (3 lbs) and froze the rest to be made into one of my favorite Ben & Jerry’s ice cream flavor, Cherry Garcia! This batch made me 6 pieces of the 8-ounce mason. After canning, I labeled the jar lids with the 1-year expiration date as I planned on giving away half and keeping the other half in our pantry! This recipe is so yummy that we ended up keeping (and consuming) all jars within 6 weeks! That’s 1 jar per week! So with the leftover frozen cherries, I’ve decided to make another batch of jam instead! This cherry jam recipe became an instant favorite at home, on a buttered toast with the jam on top! This easily became one of my favorite jam recipes!

Farm-t-table: homemade cherry jam!
Consider these tips before making and canning your jam!
Canning is optional! You can store your homemade jam in the fridge for 4-5 weeks! However, if you have plenty of fresh cherries, then canning can preserve your jam for up to a year!
Yes, mason jars with lids are necessary for canning! I’m sure there are alternative options but mason jars are easy to find at the grocery stores and works really well for canning! Plus, you can keep reusing them year after year!
Make sure your jars are completely clean before pouring the jam. Bacteria will promote molds and your jam’s shelf life is lessened.
In a stockpot, bring water to a boil then turn off the heat and place all mason jars and lids. I just keep it there to soak and sanitize while making the jam.
You can buy a canning kit but I only used a tall stockpot with a kitchen tong.
In my experience this season, fresh cherries make better jam than frozen cherries. I made 2 batches and the first batch was freshly picked while the 2nd batch was frozen and the results were stark, texturally speaking. I especially like my jam with chunks of fruits and somehow, the fresh batch had a more delightful soft and melt-in-your-mouth texture.
While I prefer not using pectin on my jam, cherries have low amounts of natural pectin in them! So for this recipe, pectin was used to help thicken the consistency.
Cherry pitter will save your hands! I was debating on whether I should still buy a pitter or just use a knife but luckily I found a used one on “Offer Up” for $5.
I’ve slightly reduced the sugar on this recipe compared to my usual fruit-to-sugar ratio and really love the amount of tang and sweetness of the jam!

Farm-to-table: pitting cherries!
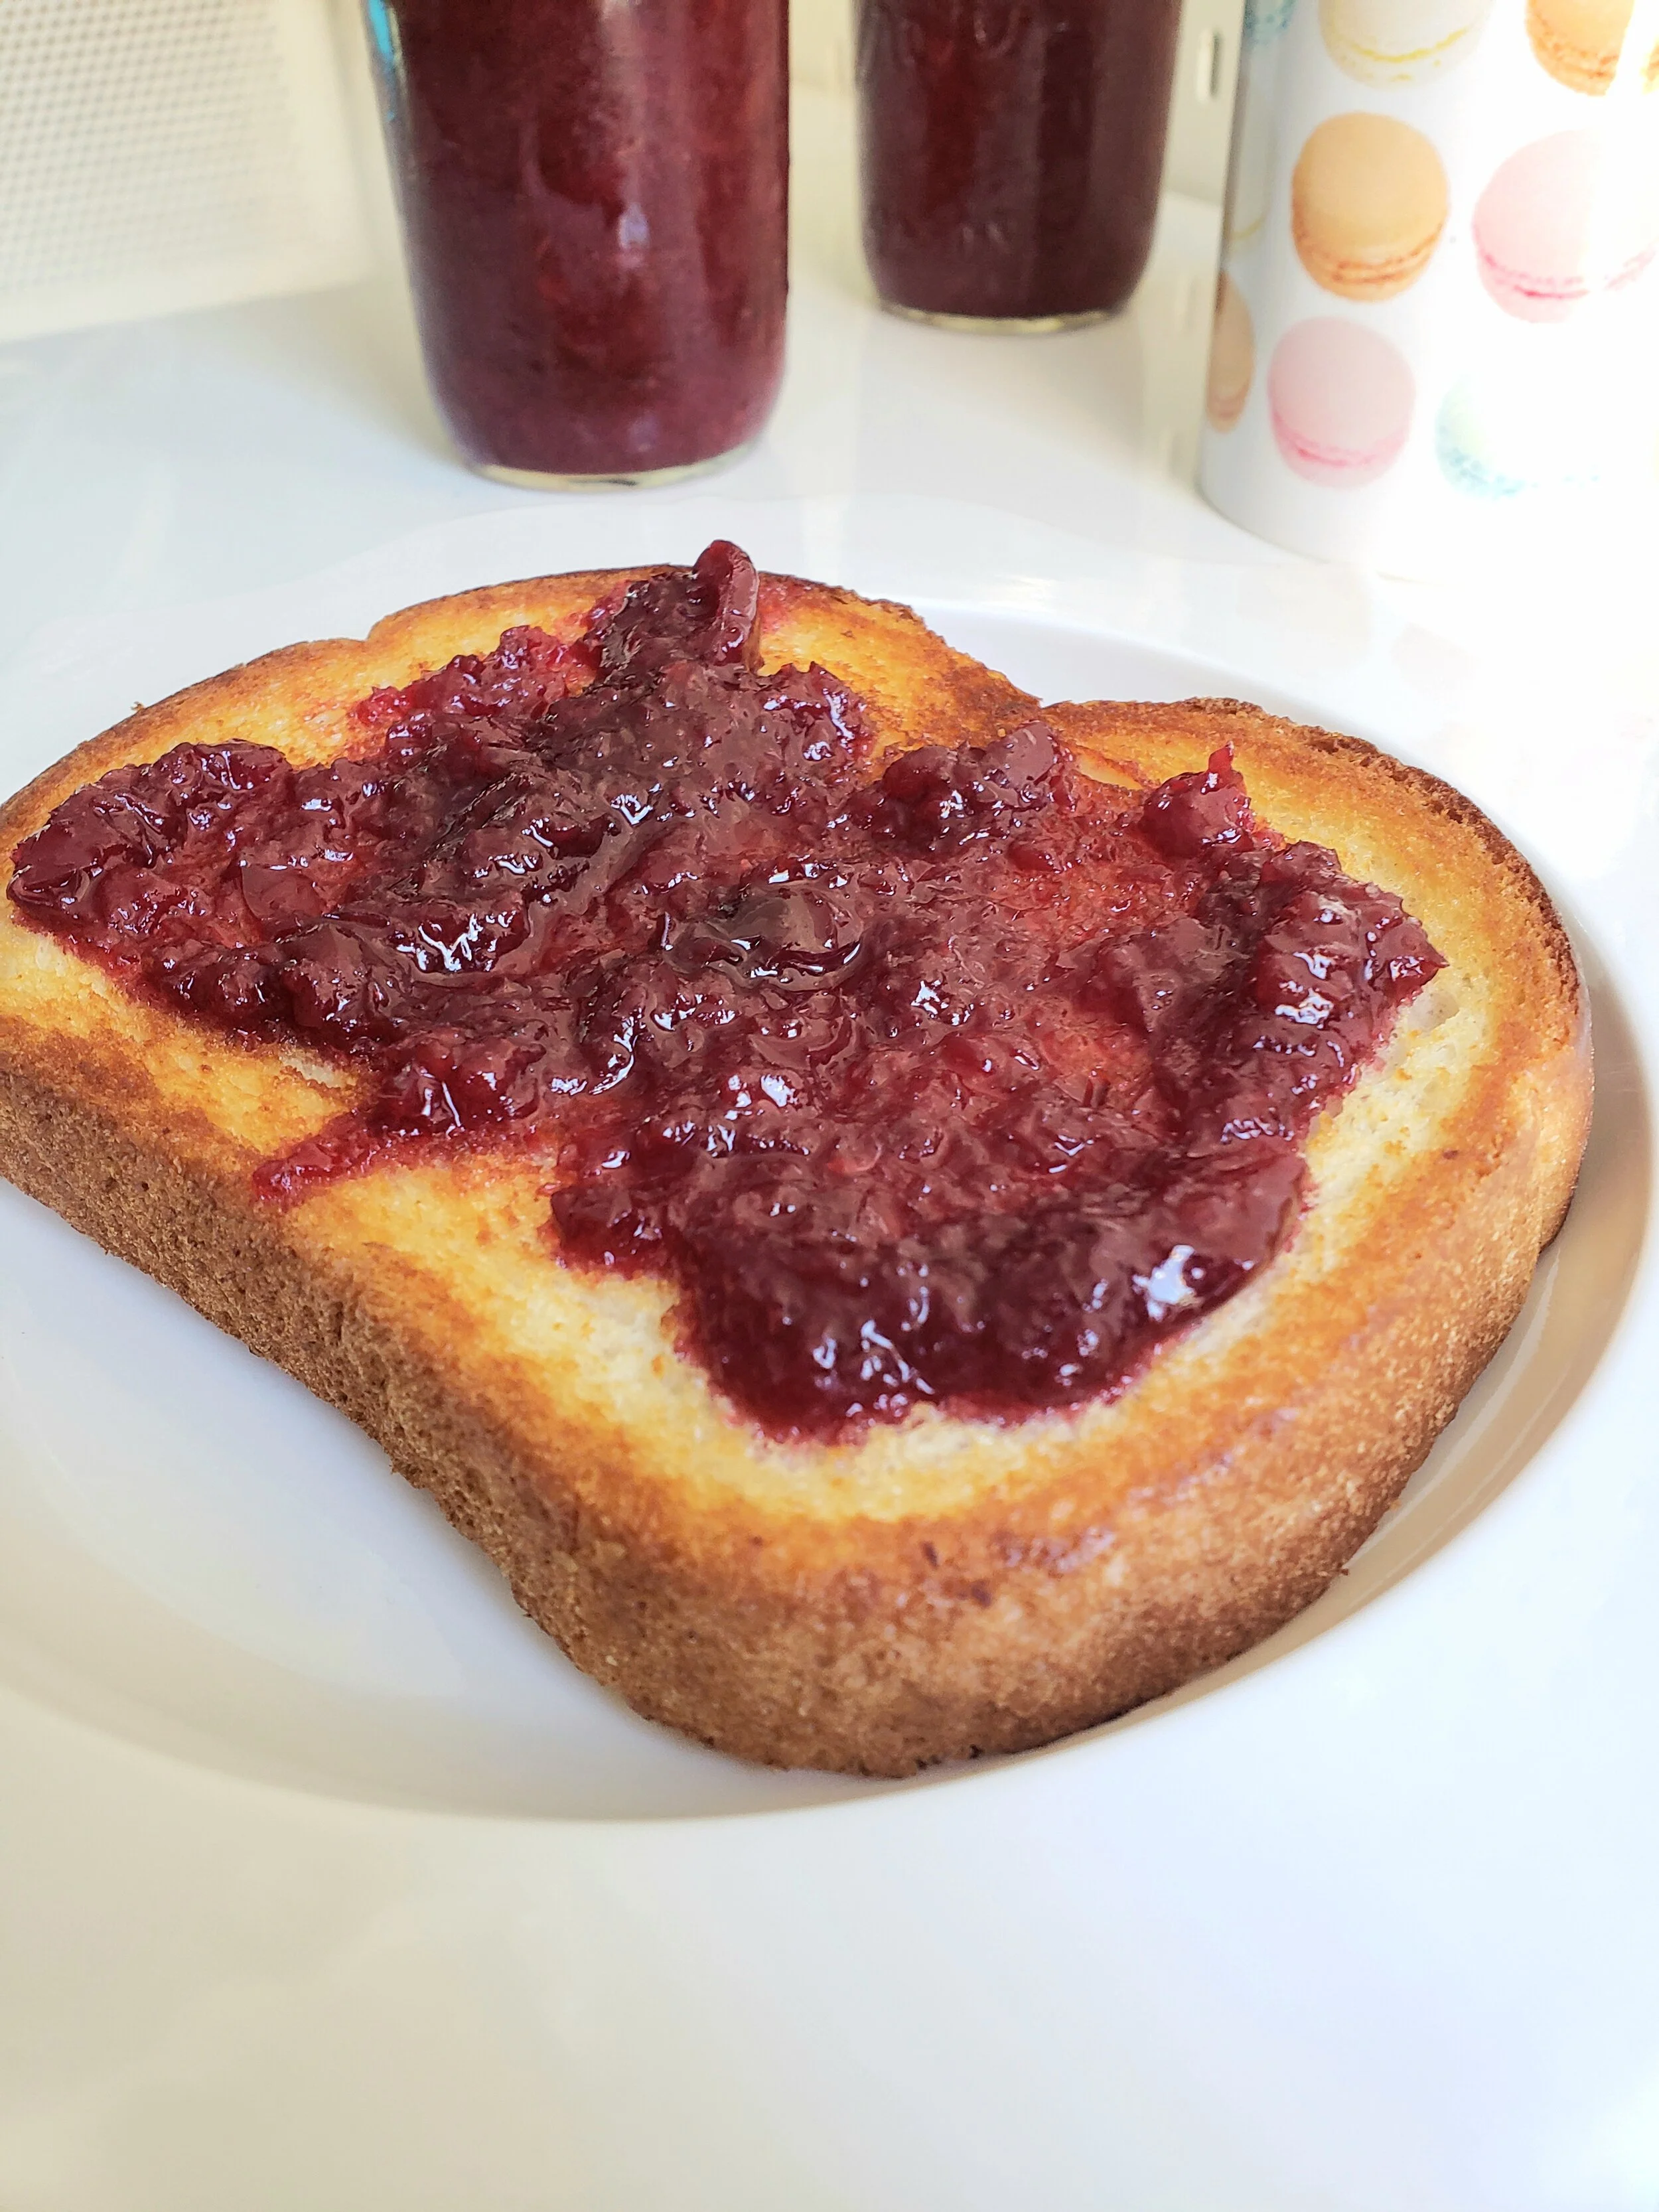
Thick slice of white bread, pan-toasted with butter and topped with cherry jam!
Cherry Jam Recipe with Canning Instructions
Yield: 6 pieces of 8 oz mason jars Prep Time: 30 minutes Cook Time: 1 hour
Equipment: pitter, deep stockpot, tong, 6 mason jars and lids, ladle, saucepan
Cherry Jam Recipe
Ingredients
3 lbs pitted cherries, some halved and some quartered (base on your preference)
2.25 c granulated sugar (divided 1 1/2 c + 3/4 c )
1 tbsp lemon juice
1 pack of pectin
Direction
Pour hot water into the mason jars and soak lids with hot water. This not only sanitizes your mason jars but also tempers it preventing the glass from cracking when you pour the hot jam in. (only if not canning, follow canning instructions below)
Wash cherries in advance and lay them evenly on a towel to dry.
Pit cherries with a pitter or knife to get a 3 lb yield of the pitted cherries.
Slice cherries in half and quarters depending on how you want your jam to be. I prefer bigger chunks with halved cherries.
In a small bowl, mix pectin and 3/4 c of sugar evenly and set aside.
In the saucepan, mix pitted cherries, lemon juice and the remainder of the sugar.
Boil at medium-high heat, stirring until sugar has dissolved and the liquid starts to come out.
If you want fewer chunks, use an immersion blender or a potato masher to mash the cherries once they are soft but before it boils. (optional)
Bring the jam to a rolling boil stirring and scraping the bottom and side of the saucepan to prevent it from burning. This should take about 15 minutes.
Remove scums on top of the boiling jam.
Once at a rolling boil, add the sugar/pectin mix into the jam and stir until sugar is dissolved.
Bring the jam to a rolling boil again and stirring and scraping the bottom of the saucepan.
Once at a rolling boil, keep boiling for another 2 to 3 minutes before turning off the heat.
For a thicker consistency, boil for another minute or more. (check below for tips on how to tell if the jam is done)
Pour out the warm water inside the mason jars and use a clean paper towel to dry.
With a ladle, carefully scoop the cherry jam into clean jars. Use a canning funnel if available.
If you don’t plan on canning, leave the jars uncovered to cool off completely before storing in the fridge for up to a month.
How to Check if Cherry Jam is Done
The Plate Method: Before making the jam, place a plate in the freezer. To check, place a thin dollop of the jam on the plate. With a finger, swipe the middle of the jam. If it stays in place, then the jam is done but if it’s still liquidy covering the gap where the finger was swiped, then keep boiling for a few more minutes and check again after.
Thermometer: Using a kitchen thermometer, the target range for jams and jellies is between 217-222°F or 103-106°C (Thermo Blog).
Spatula Method: Using a spatula, scoop the jam up and tilt your spatula sideways to allow the jam to drip. If it drips in a “V” stream, cook longer for a few minutes. The jam is done when it drips in a “W” stream or multiple mini “v” streams. Some people refer to it as the “cascade” drip like a cascading waterfall.

Cherry Jam Recipe
Homemade Cherry Jam Canning
Before making the jam, bring water to a boil on a stockpot. Turn off the heat and place mason jars and lids inside the stockpot to sanitize. I leave them there to keep the jars warm and tempered right before pouring the made jam. It prevents the glass from cracking when tempered.
Make the cherry jam.
Before the jam fully cooks, use a tong to take out the jars and lids and dry with a clean towel.
Using a ladle, pour the warm jam into the mason jars and tightly seal with the lids.
Place the sealed jars into the stockpot making sure that it is fully submerged with at least an inch of water above it.
Bring the jars to a quick boil to fully seal and sanitize the mason jars.
Using a tong, remove the jam out of the stockpot and place it on top of a towel to dry and cool.
Once cooled and dry, label the jam with expiration date for up to a year.
Store in your pantry.
Refrigerate the opened jam jars.
I’ve always been a strawberry (and guava) jam kinda girl ever since I first made it! Check out the recipe here! But this recipe of cherry jam is also now a family favorite! I especially enjoy it with a thick slice of pan-toasted white bread with butter and a spoonful of cherry jam on top! It’s not only delicious but also so easy to make! Tag me @sweetsavorygrace when you get the chance to make cherry jam! Cheers! -Grace

Homemade cherry jam on a toasted slice bread with butter! So delicious!

Farm-to-table: freshly picked cherries turned into a jam!


